Understanding RAW and JPEG: Key Differences and When to Use Each Format
| Shelf | Cameras & Lenses |
|---|---|
| Date in | |
| Readers | 782 |
Explore the fundamentals of RAW and JPEG formats, their differences, and which to choose based on your shooting needs and editing preferences.
RAW vs JPEG
When navigating your camera settings, you often find options for “Image Quality” or “File Format,” typically presenting you with RAW and JPEG. While many beginners default to JPEG, grasping the differences between these formats can significantly enhance your photography. Here’s an in-depth look at what each format offers.
Defining RAW Files
A RAW file acts like a digital negative, capturing all of the data from your camera’s sensor without any processing. Shooting in RAW preserves every detail from shadows to highlights, retaining nuances in color that would be lost otherwise. With RAW, nothing is discarded, providing a comprehensive foundation for post-processing.
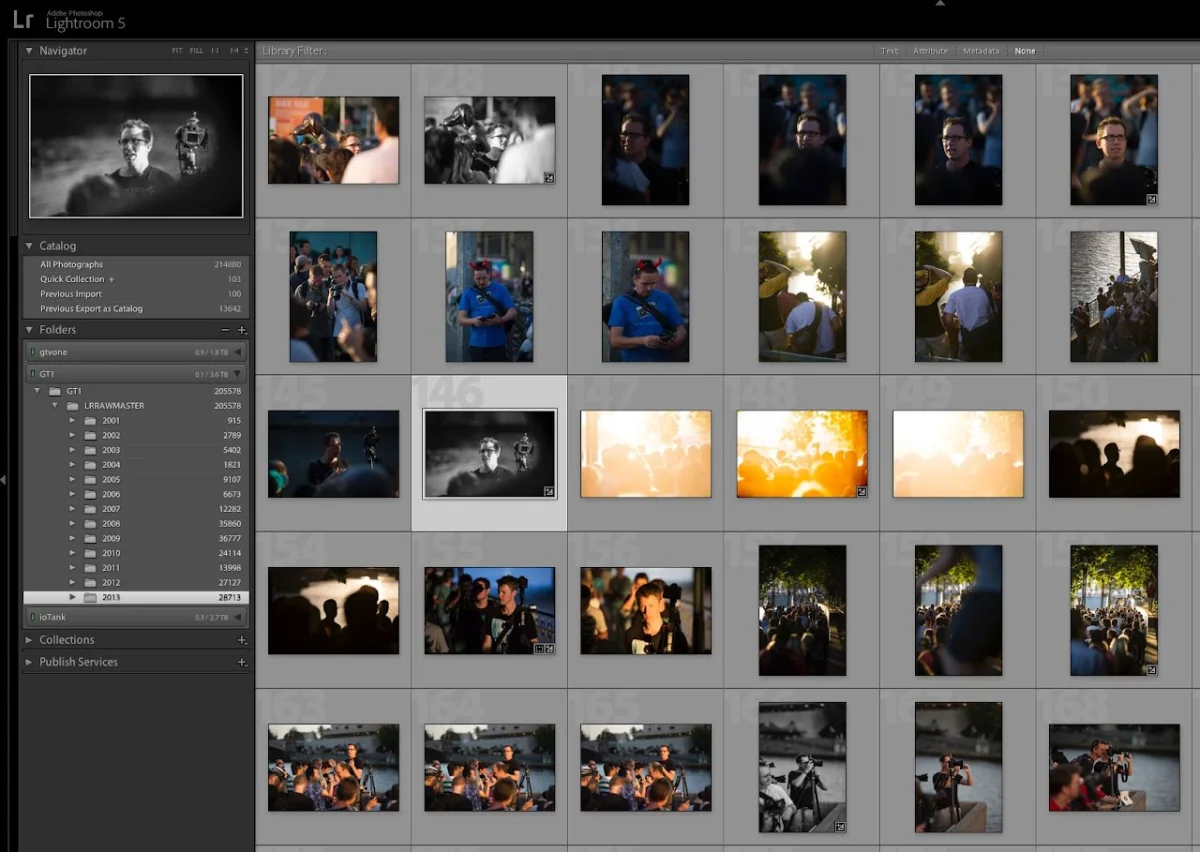
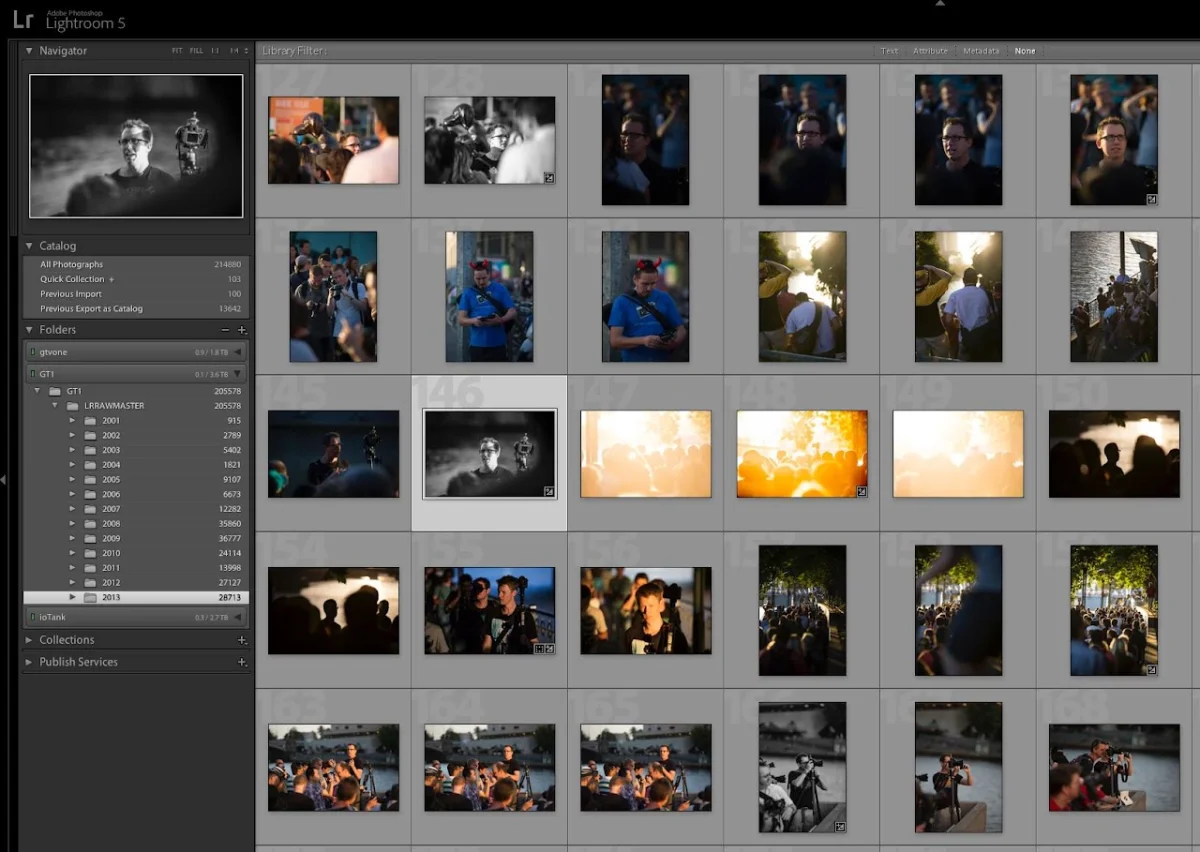
The drawback is that RAW files can’t be uploaded to platforms, like Instagram, directly. They must be processed in software such as Adobe Lightroom, Capture One, or the free Darktable before sharing. Although this requires additional effort, it’s where you can truly bring out the best in your images.
JPEG Format Explained
Conversely, JPEG files are finished products. As soon as you press the shutter button, your camera automatically applies sharpening, contrast adjustments, color correction, and noise reduction, followed by compressing the image into a smaller file. This means JPEGs are instantly ready for sharing.
However, this automation comes with a cost. Your camera makes all the editing decisions, leading to a loss of data. When information is discarded to reduce file size, it cannot be recovered later.
Editing Differences: RAW vs JPEG
The differences truly become evident when editing your photos. Imagine capturing a stunning landscape but slightly underexposing the shot. With RAW, you can open the file in Lightroom and easily adjust the Exposure slider to recover hidden details in the shadows, maintaining a natural look.
Attempting the same adjustment on a JPEG doesn’t yield the same results. As you lighten the photo, shadows may become muddy and noisy, possibly revealing banding where smooth gradients once existed. RAW files typically offer around four stops of exposure recovery, while JPEGs offer approximately one stop, if that.
Color and White Balance Benefits
Many beginners overlook the flexibility of white balance adjustments in RAW format. If you mistakenly set the wrong white balance for indoor tungsten lighting, you can easily correct this in Lightroom without any quality loss. With JPEG images, adjusting white balance is destructive; significant corrections can result in unnatural color shifts and degrade overall image quality.
The Appeal of JPEG
Despite the advantages of RAW, many JPEGs look excellent straight out of the camera. Camera manufacturers invest significant resources into optimizing JPEG processing, which yields impressive results. For fast-paced settings like sports or events where you need quick handoffs, JPEG is often a practical choice.
However, it’s essential to consider whether you’re making the most of your camera’s capabilities and whether you desire the editing flexibility that RAW offers. Embracing RAW can enhance your understanding of exposure, color, and light dynamics, facilitating personal growth as a photographer.
Storage and Performance Considerations
One crucial factor to note is that RAW files are considerably larger than JPEGs, often ranging from 30-80 MB compared to JPEGs’ 5-20 MB. When shooting numerous frames, this size discrepancy can quickly accumulate, necessitating larger memory cards and additional hard drive space, along with extended backup times.
Moreover, RAW files can slow down your camera’s burst shooting capabilities due to the increased data writing required. This may be a pivotal consideration for those who frequently shoot action or wildlife photography.
For those looking for a balanced approach, many cameras offer a RAW + JPEG option, allowing you to capture both formats simultaneously. This setup provides a quick-sharing JPEG and an editable RAW file, offering flexibility at the cost of increased storage usage.
Making the Right Choice
When deciding between RAW and JPEG, consider the following:
- Choose RAW if you prioritize maximum image quality, want to delve into the editing process, are dealing with challenging lighting, or are focused on genres like portraits or landscapes where editing is significant.
- Choose JPEG if you require immediate usability, need to capture fast-paced scenes with rapid burst rates, or prefer the straightforwardness of in-camera processing without the desire for extensive editing.
- Choose RAW + JPEG if you want the benefits of both formats and don’t mind the additional storage commitment.
Getting Started with RAW
If you’re inclined to experiment with RAW, start by adjusting your camera’s image quality setting to RAW or RAW + JPEG. Consider downloading Adobe Lightroom (there’s a free mobile version) or the free desktop app Darktable for post-processing.
Take a photo in challenging lighting—a scene with contrasting bright windows and shadowy areas works well. Spend ten minutes experimenting with the exposure and contrast sliders in your editing software. You’ll likely be amazed at how much detail can be recovered, leading to that enlightening moment that turns many photographers into devoted RAW enthusiasts.
If you have questions about RAW editing or software options, feel free to leave a comment below — we’re here to assist you!