Mastering Lightroom: Create Your Own Custom Presets in a Few Steps
| Shelf | Cameras & Lenses |
|---|---|
| Date in | |
| Readers | 367 |
Learn how to create and apply custom presets in Lightroom to streamline your editing process and enhance your photography workflow.
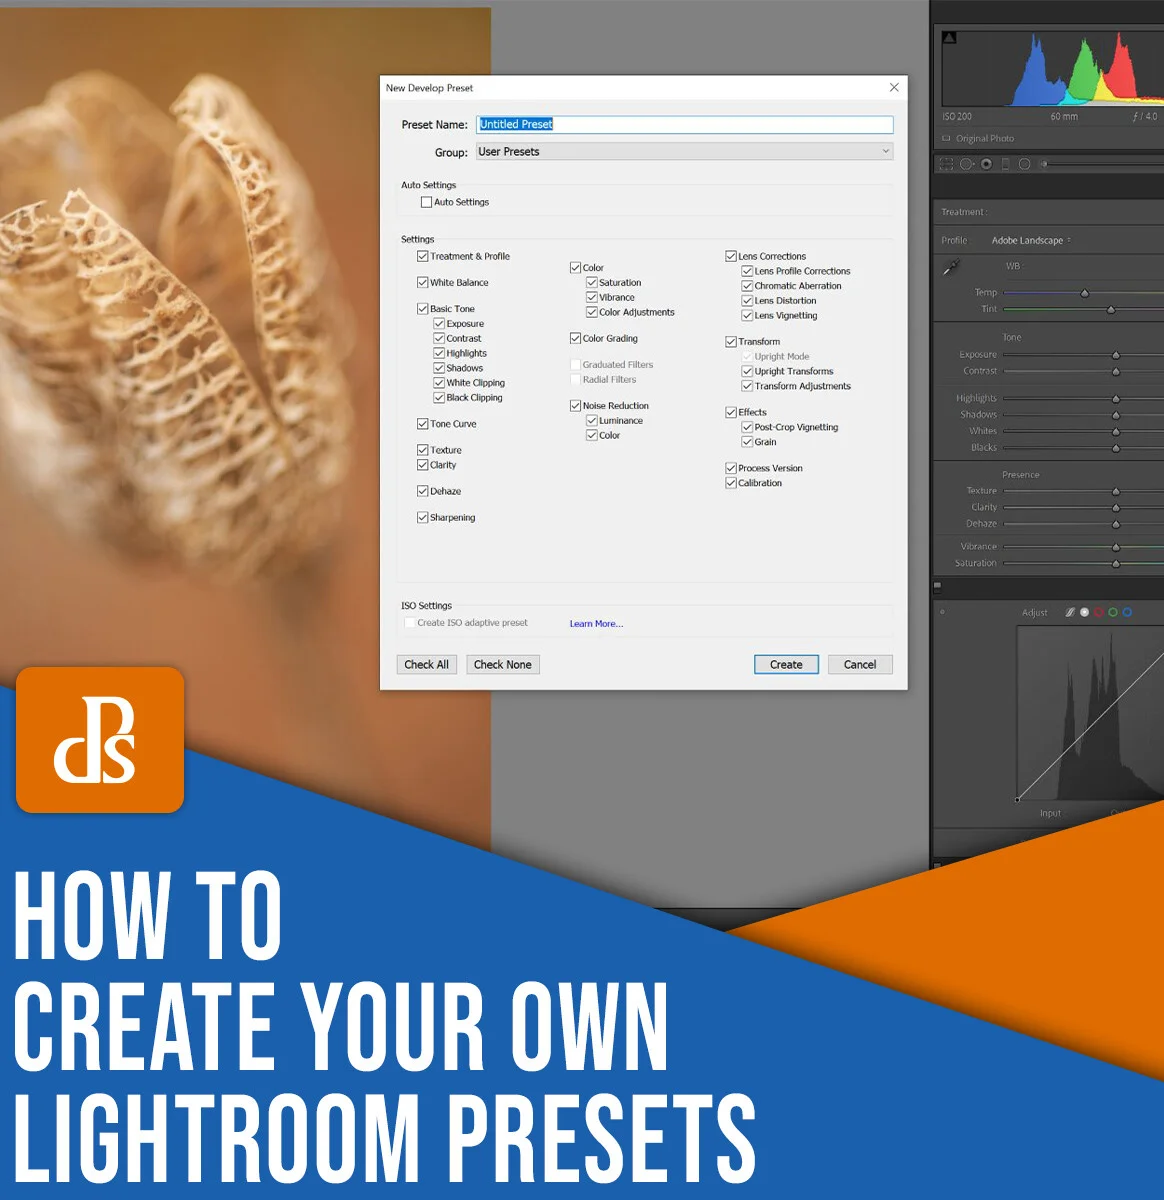
Creating your own presets in Adobe Lightroom can significantly speed up your photo editing workflow. This guide presents a clear, step-by-step process that will empower you to make personalized presets that enhance the quality of your images and save you hours during the editing phase. Following these steps, you'll be well on your way to efficient, high-quality photo edits.
When to Consider Creating Lightroom Presets
Lightroom is packed with essential edits that photographers often have to perform on nearly every image. By doing these automatically upon import, you not only save time but also ensure consistency across your portfolio. It's advisable to apply presets to most photos you take, but be mindful of their use during the editing process—favor automated application and save selective adjustments for more detailed work.
Consider this: RAW files typically require adjustments to achieve their best appearance, and presets can help you achieve this with ease. For example, take a look at an unedited RAW photo:
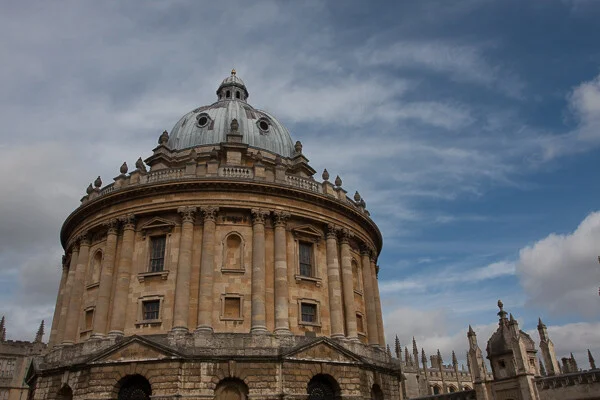
Now, check the same image after applying a preset:
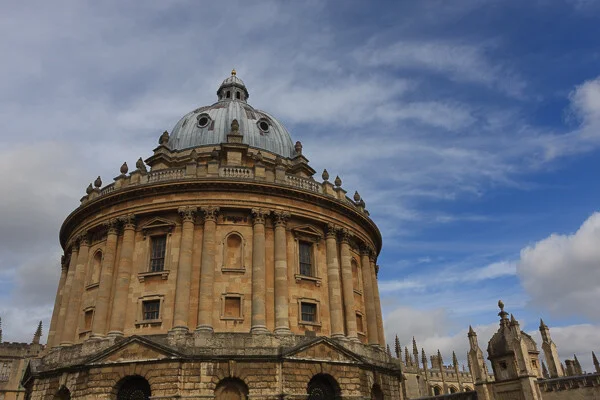
The transformation is striking and showcases how preset application can dramatically speed up your editing workflow.
Steps to Create a Useful Lightroom Preset
Follow these steps to create an effective preset tailor-made for your editing style:
Step 1: Choose a Photo in the Develop Module
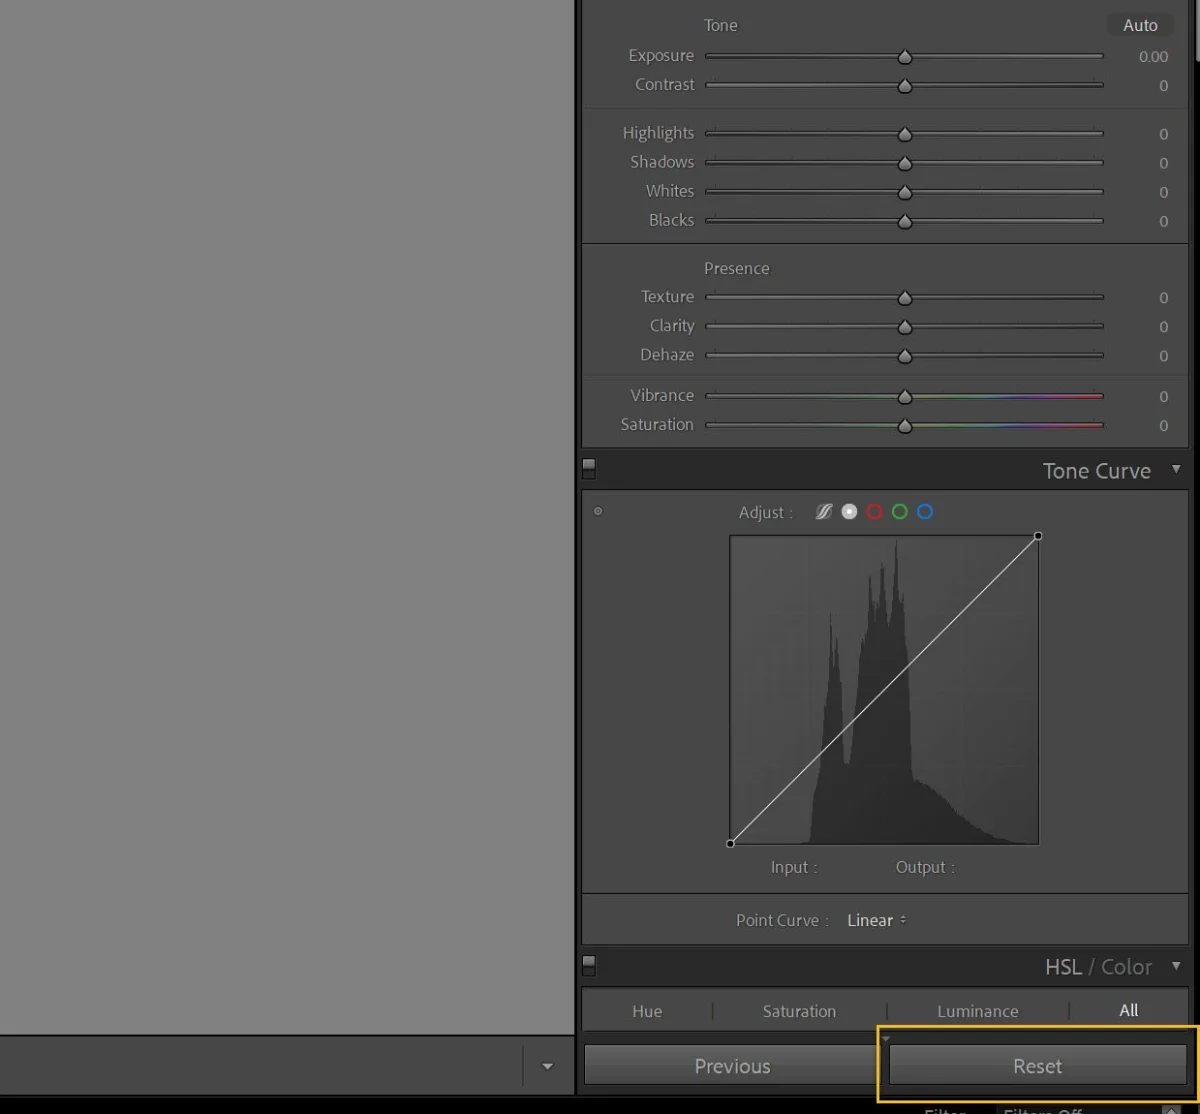
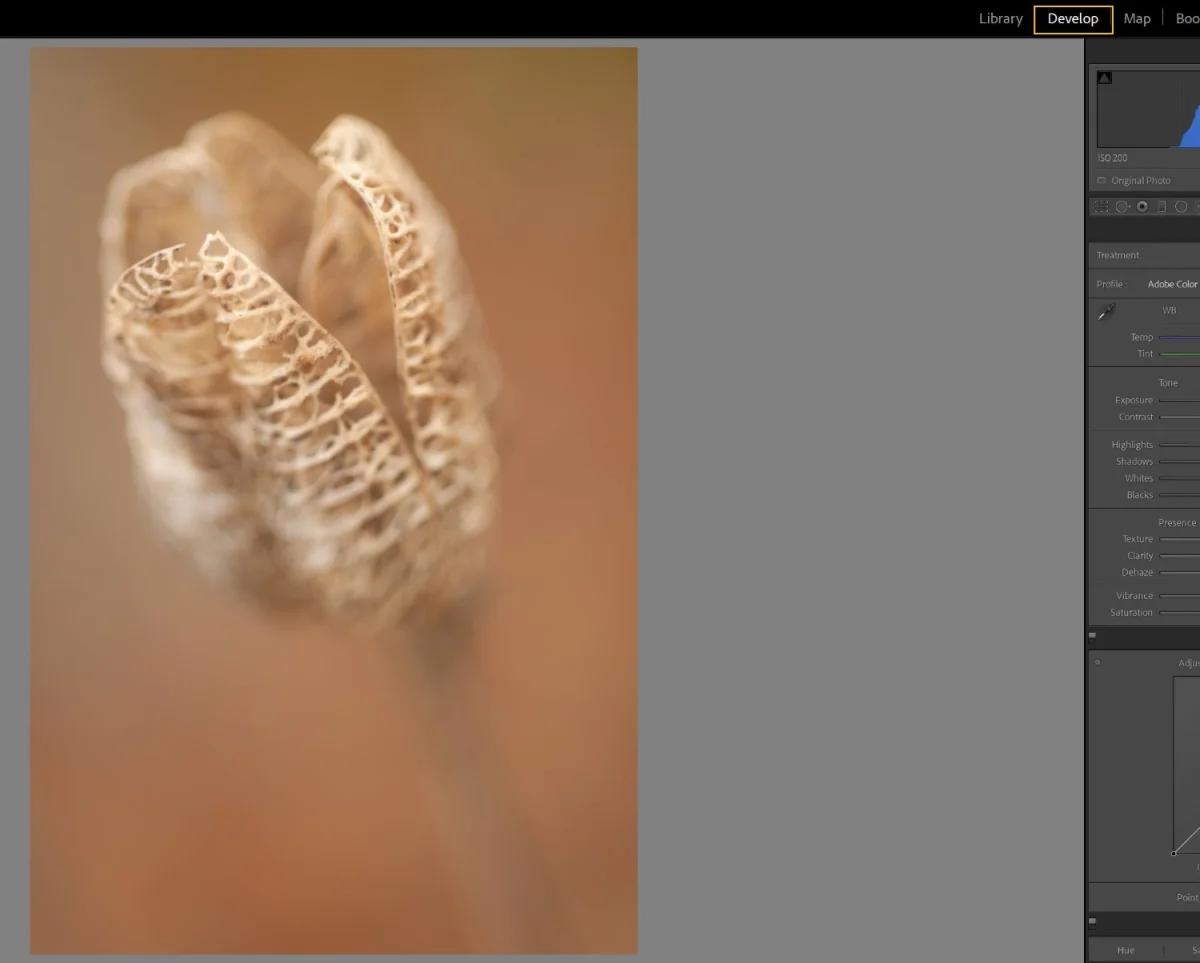
Select a photo you want to base your preset on and open it in Lightroom's Develop module. It’s wise to reset the photo to its original state by clicking the Reset button to start fresh.
If you want to keep your previous edits, creating a Virtual Copy is a great approach. Simply right-click the image and choose Create Virtual Copy.
Step 2: Select Your Profile
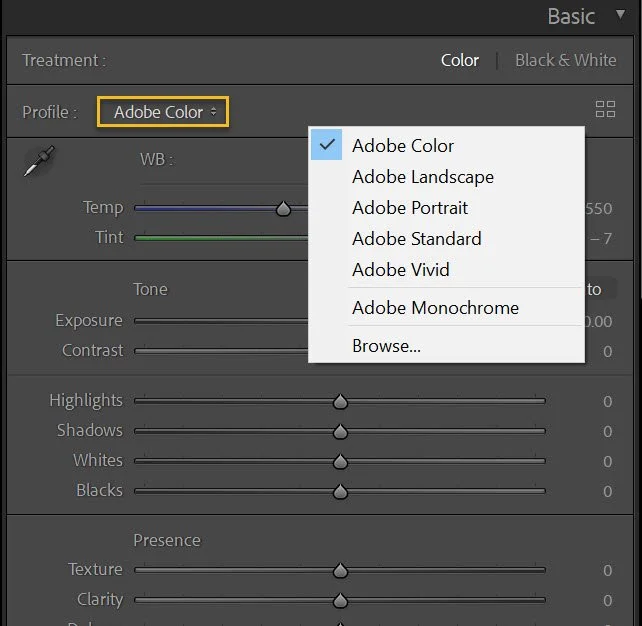
In the Basic panel, choose a Profile that serves as your editing foundation. Options include Adobe Color for general use, or specialized profiles like Adobe Landscape or Adobe Portrait, depending on your photography style. Remember, your chosen profile can be adjusted later, allowing for flexibility during edits.
Step 3: Lens Corrections and Removing Chromatic Aberration
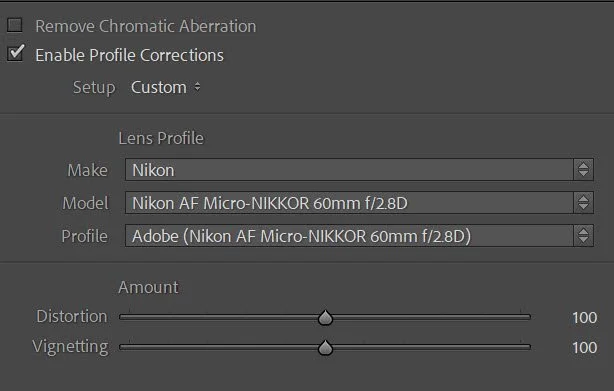
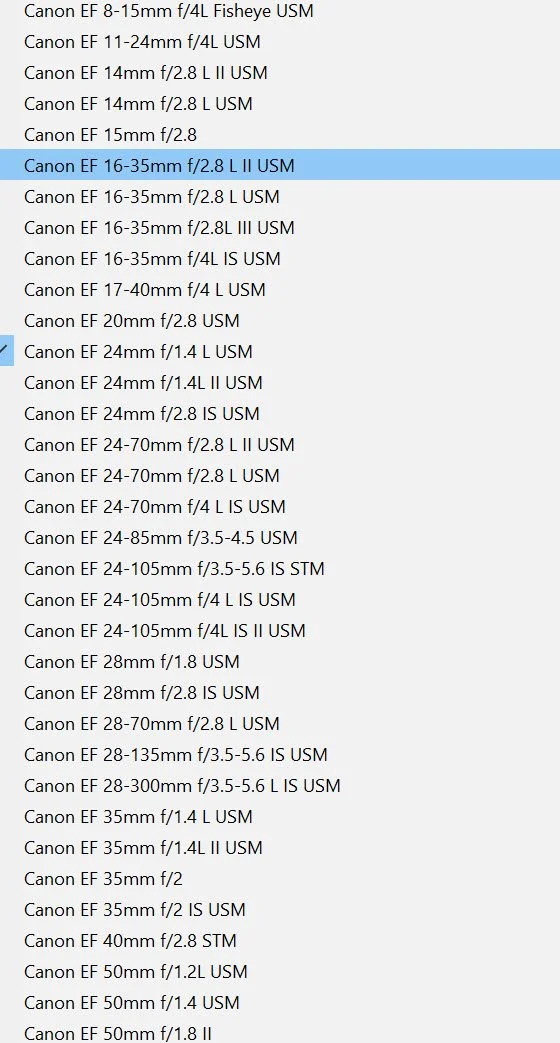
Most images may suffer from minor lens-induced issues. In the Lens Corrections panel, enable Profile Corrections to counteract such distortions, and check Remove Chromatic Aberration to eliminate any fringing.
Step 4: Check and Adjust Basic Panel Settings
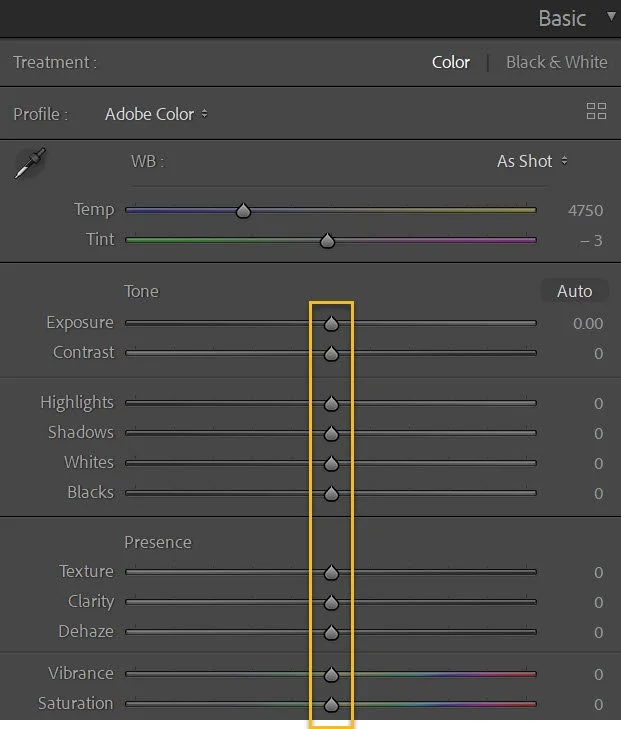
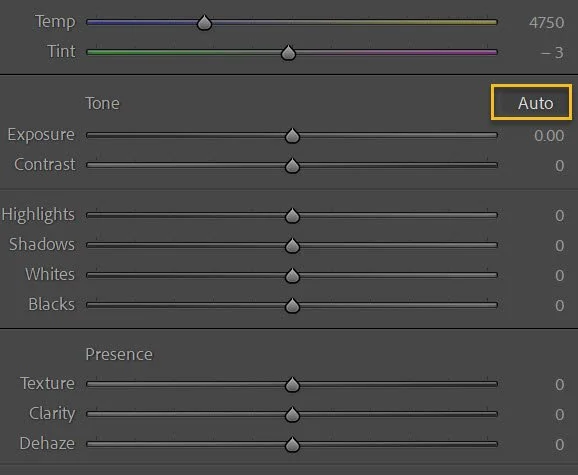
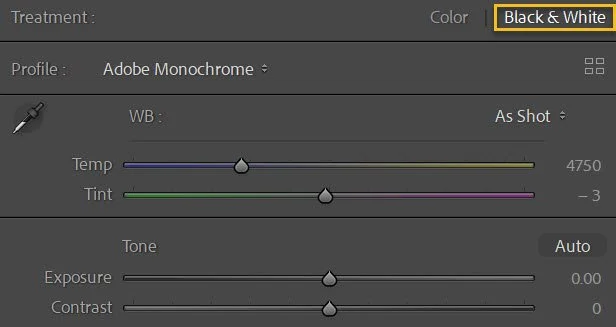
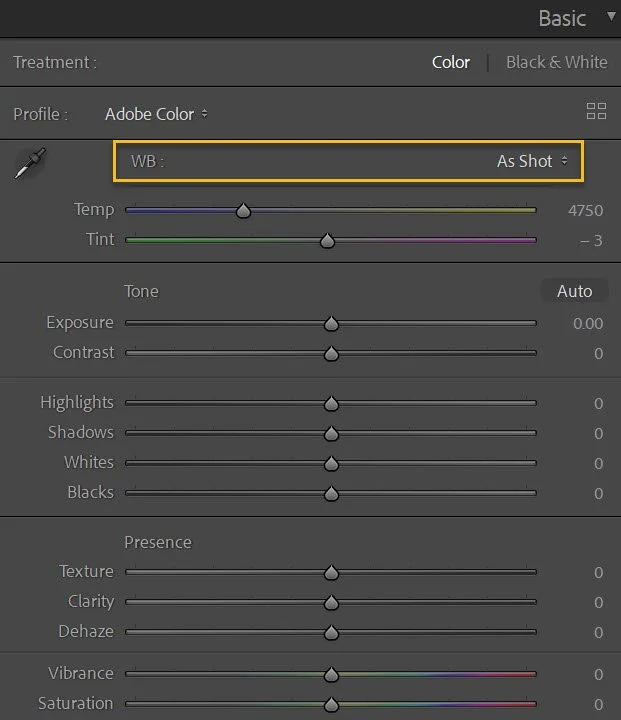
In the Basic panel, ensure that the white balance is set to As Shot. Additionally, zero out all other sliders, or utilize the Auto button for quick adjustments, if that suits your style. If you work with both color and black-and-white images, consider making separate presets for each by setting the Treatment to Black & White.
Creating Your Preset in Lightroom
Here’s a straightforward breakdown of the process to finalize your custom preset:
Step 1: Create a New Preset
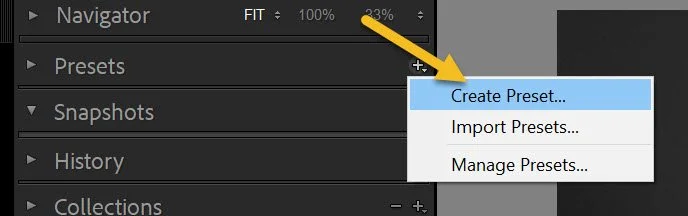
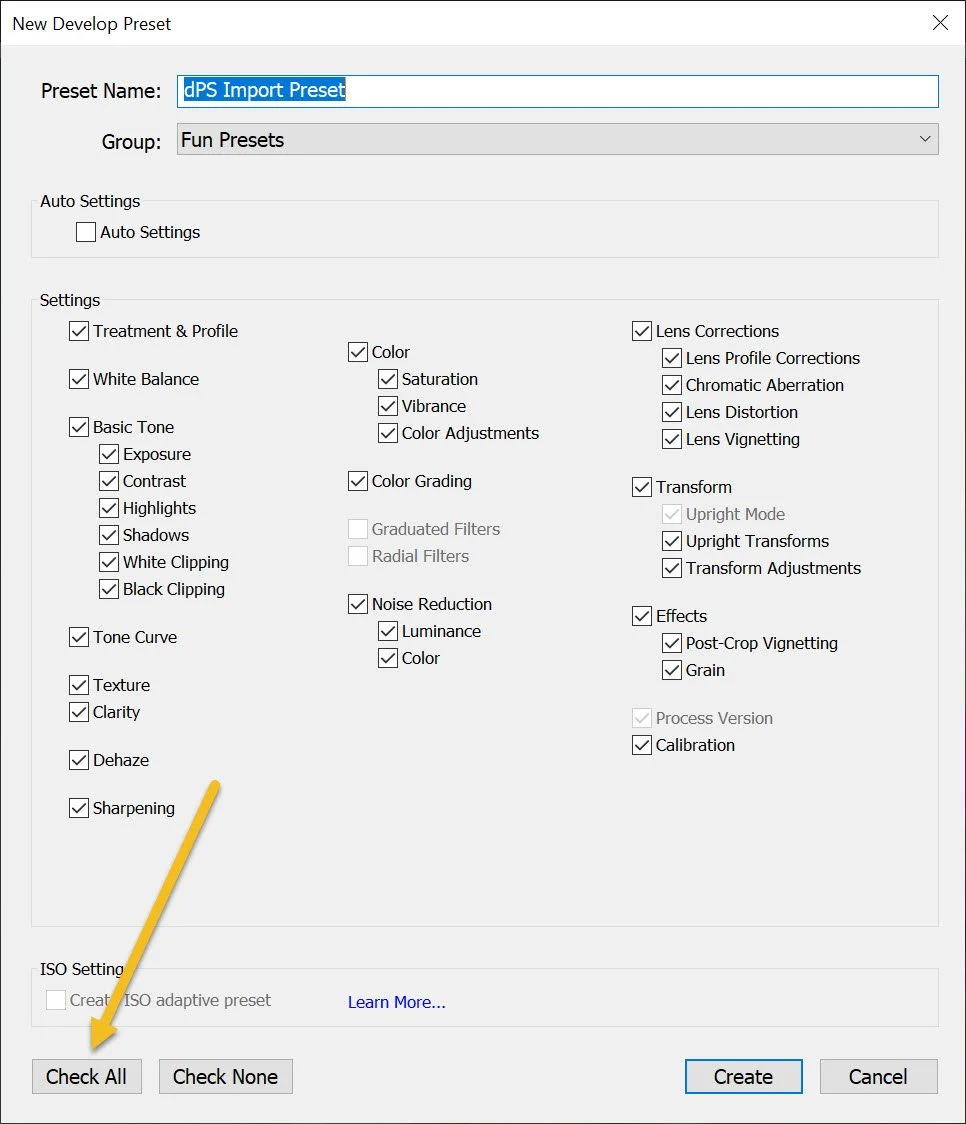
While still in the Develop module, click the Plus icon beside the Presets panel and select Create Preset.
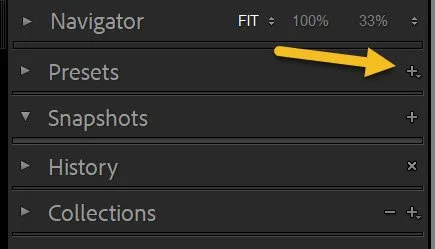
Step 2: Name Your Preset and Choose Settings
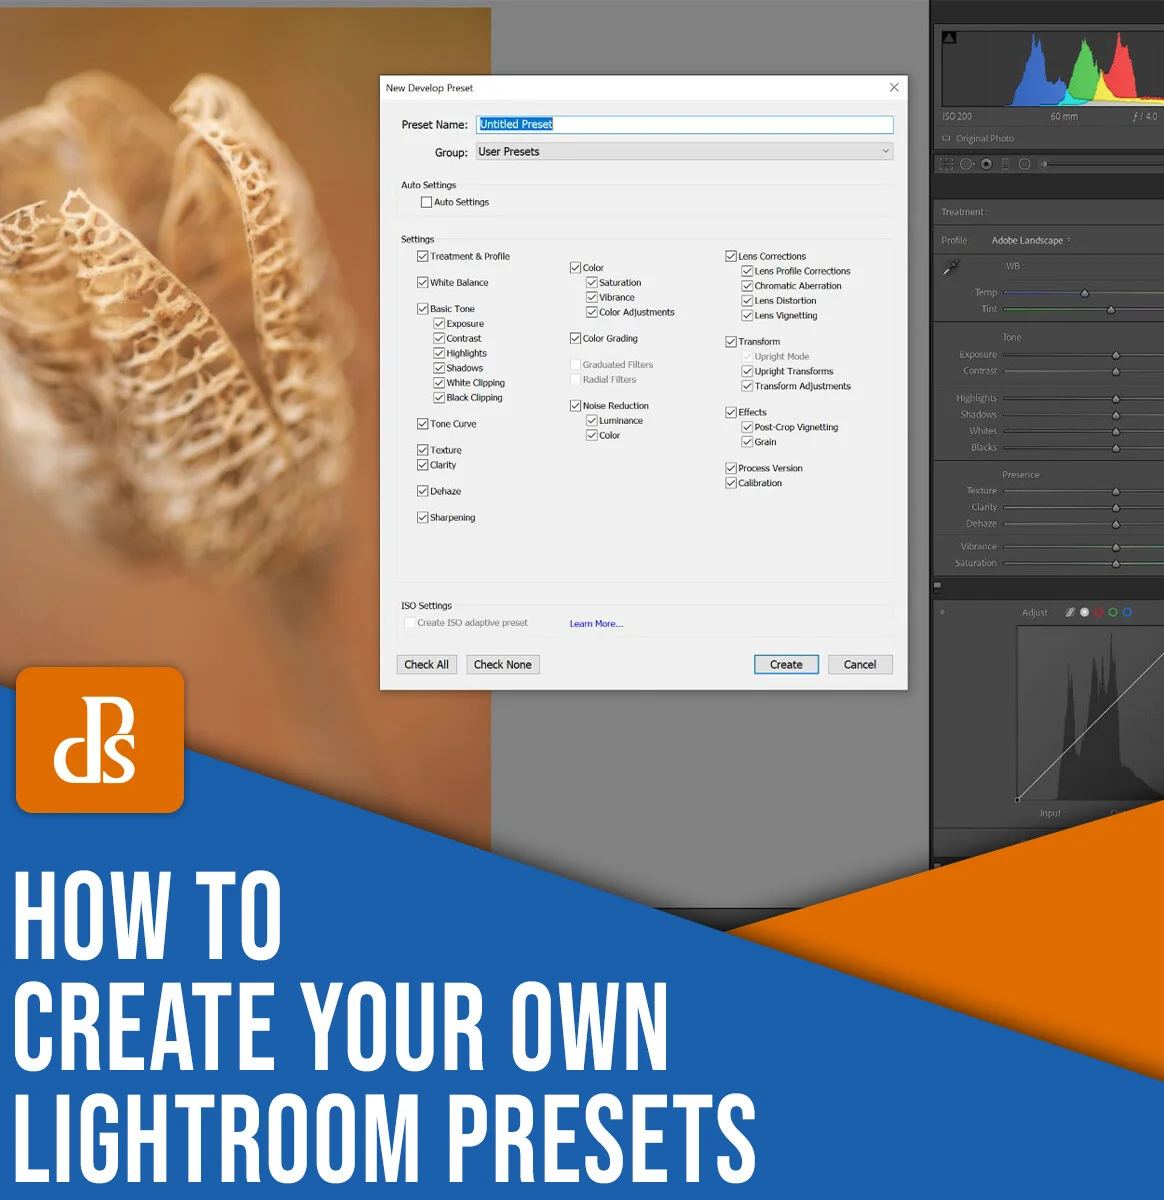
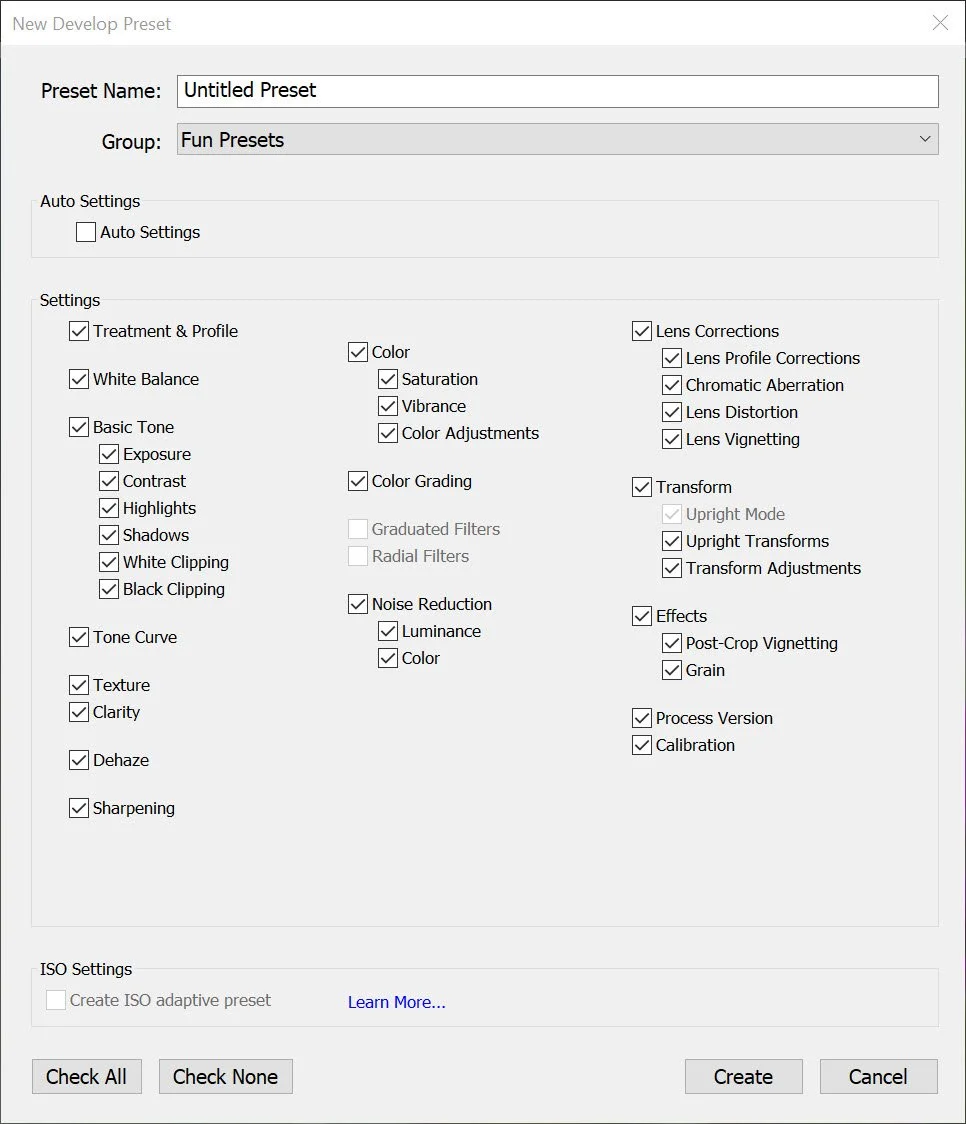
Name your preset and choose a folder for storage. You can either check Check All to include all adjustments or customize according to the adjustments you deem necessary.
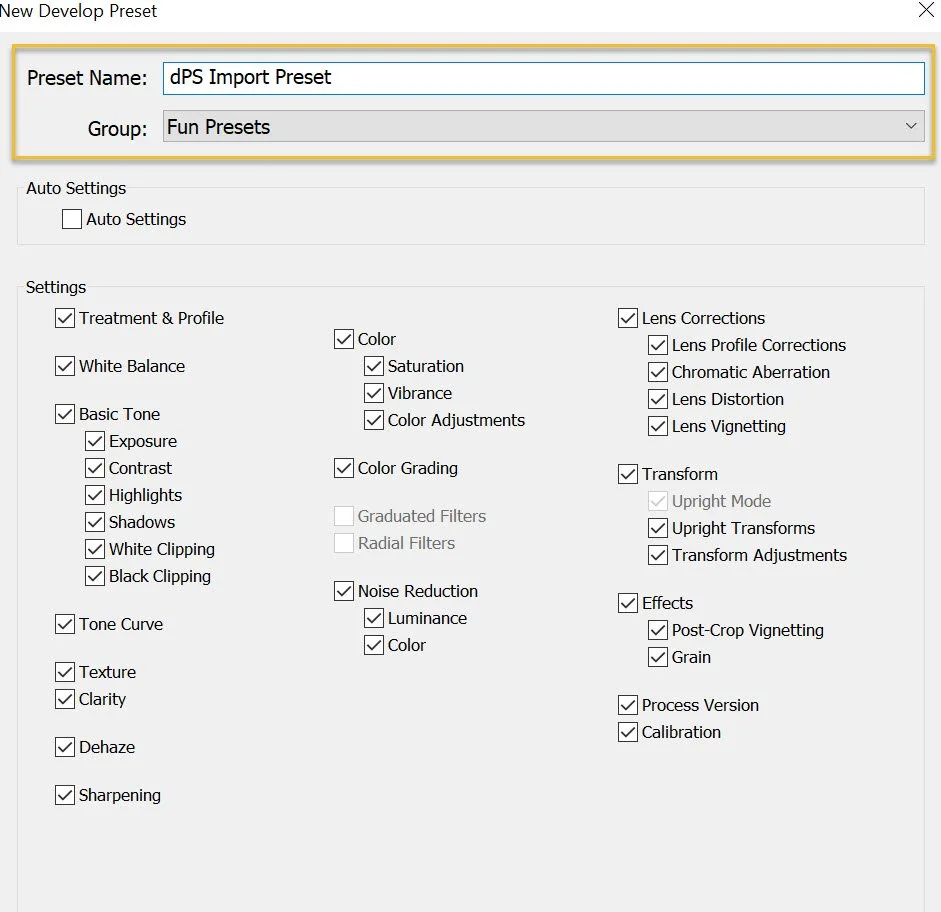
Step 3: Save Your Preset
Hit Create to save your preset.
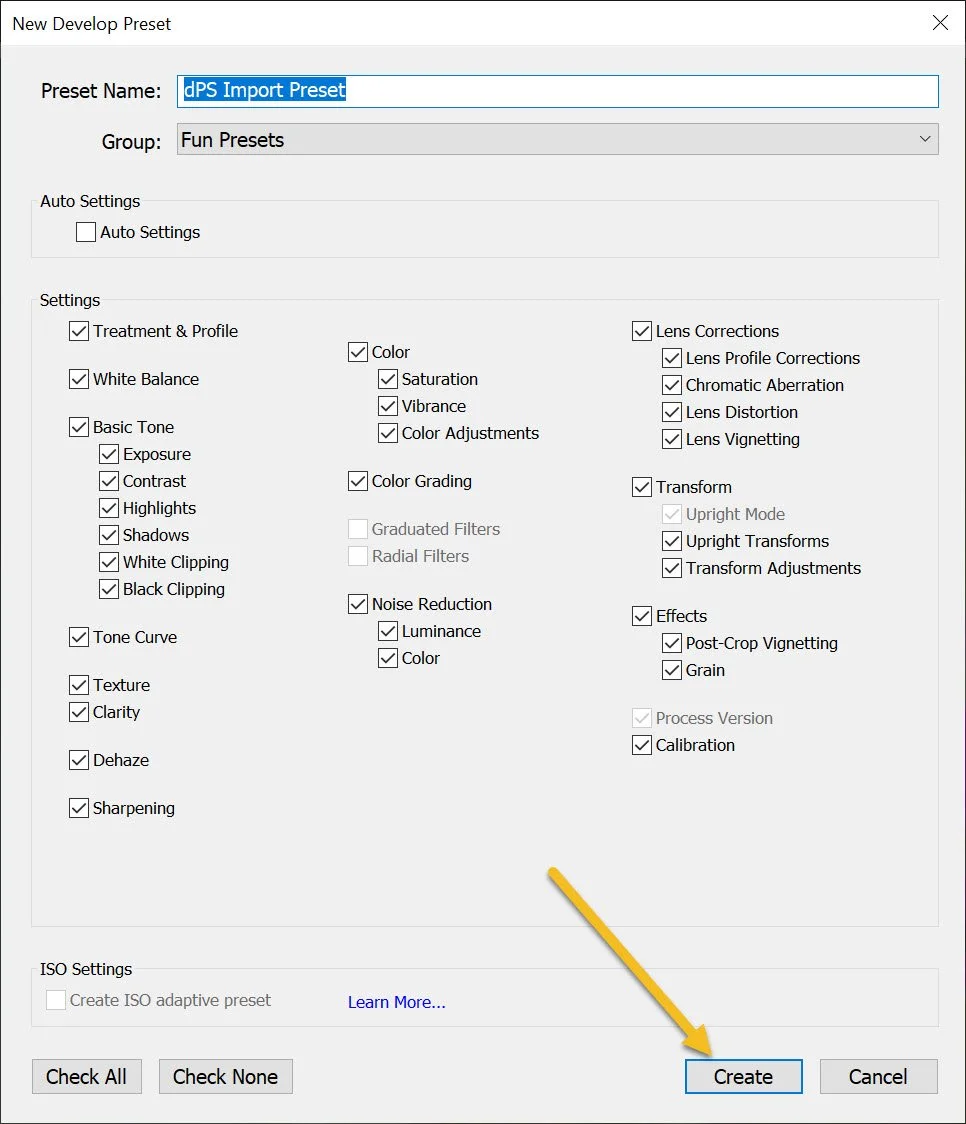
This straightforward and quick process is an investment in your time and consistency during photo edits.
Applying Presets When Importing Photos
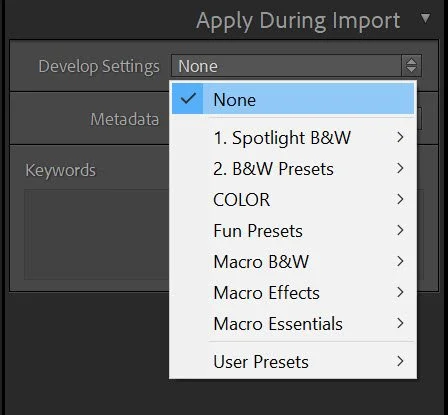
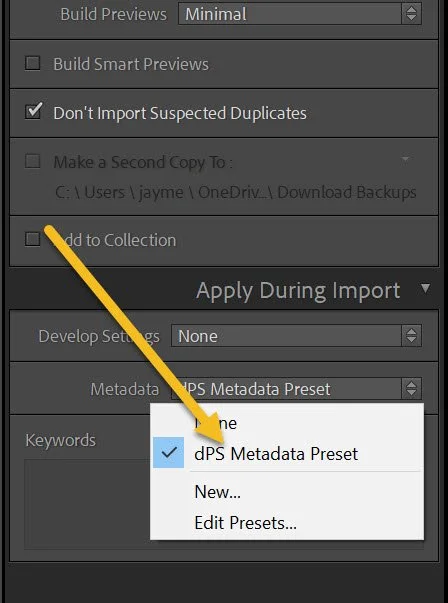
To use your preset automatically when importing photos, launch the Import window and find the Apply During Import section. Here you can select your preset from the Develop Settings menu. This is particularly valuable when importing multiple images, allowing for tailored adjustments to suit specific photos.
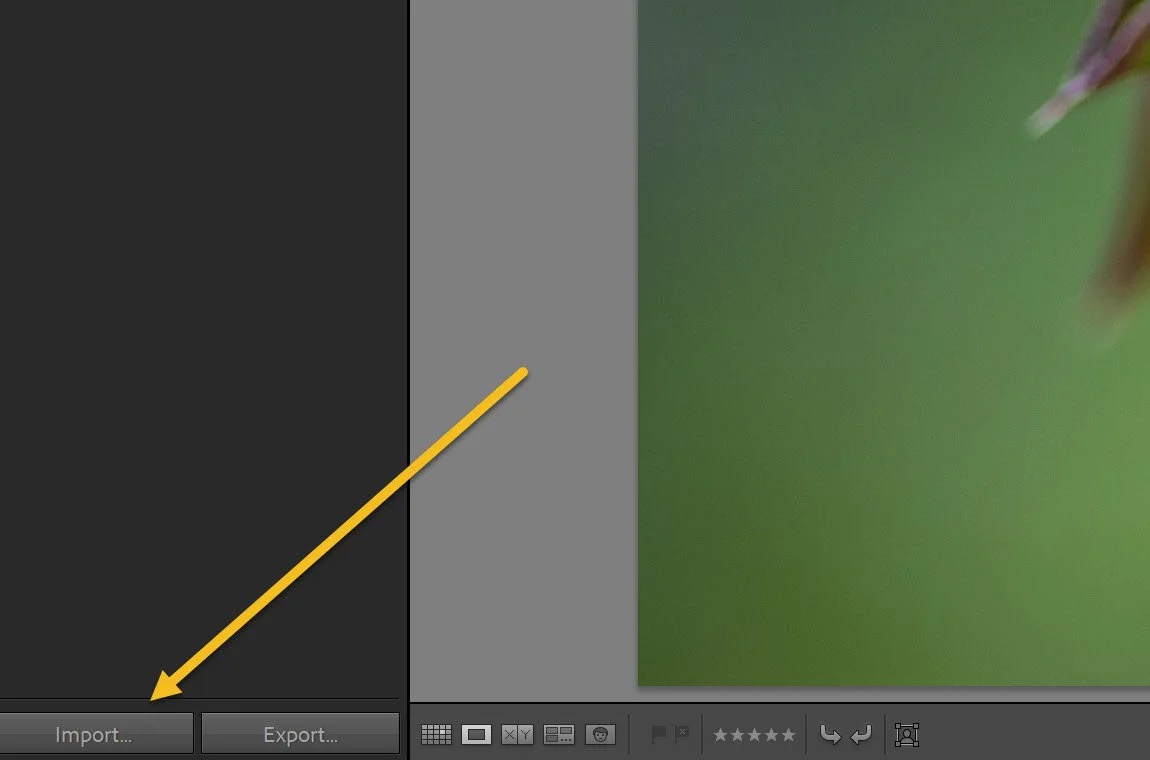
Adding Copyright Information
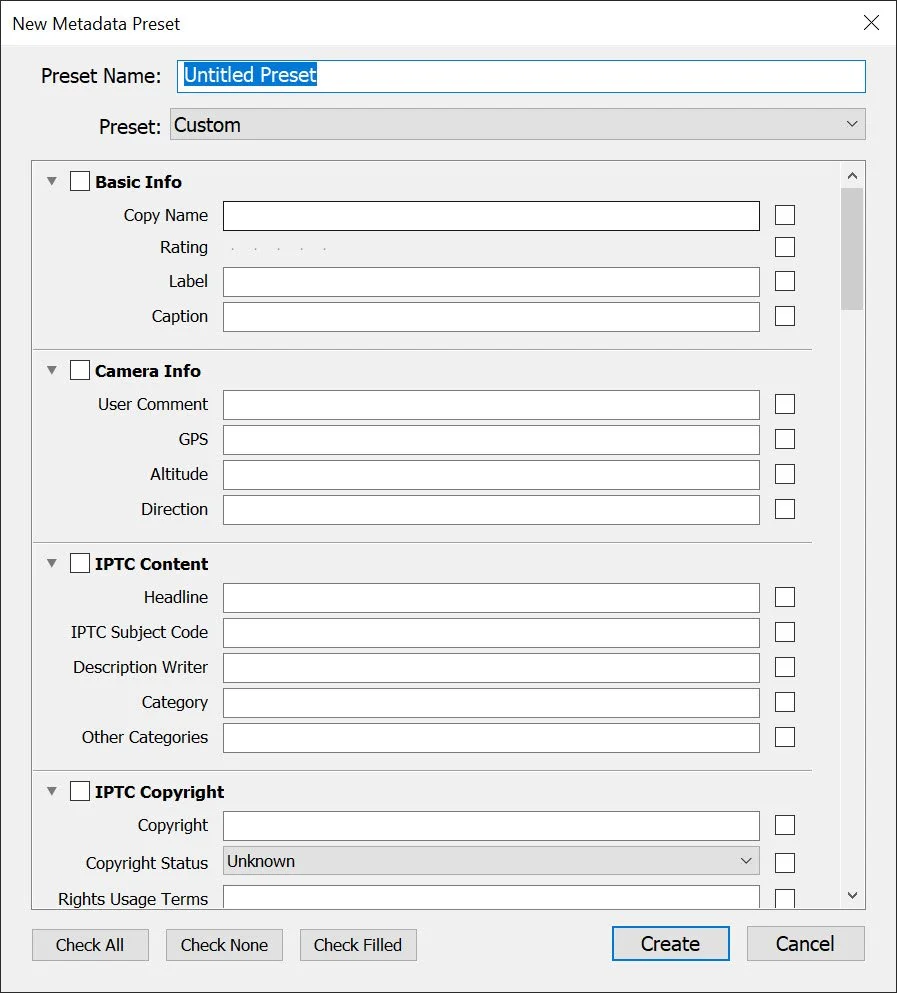
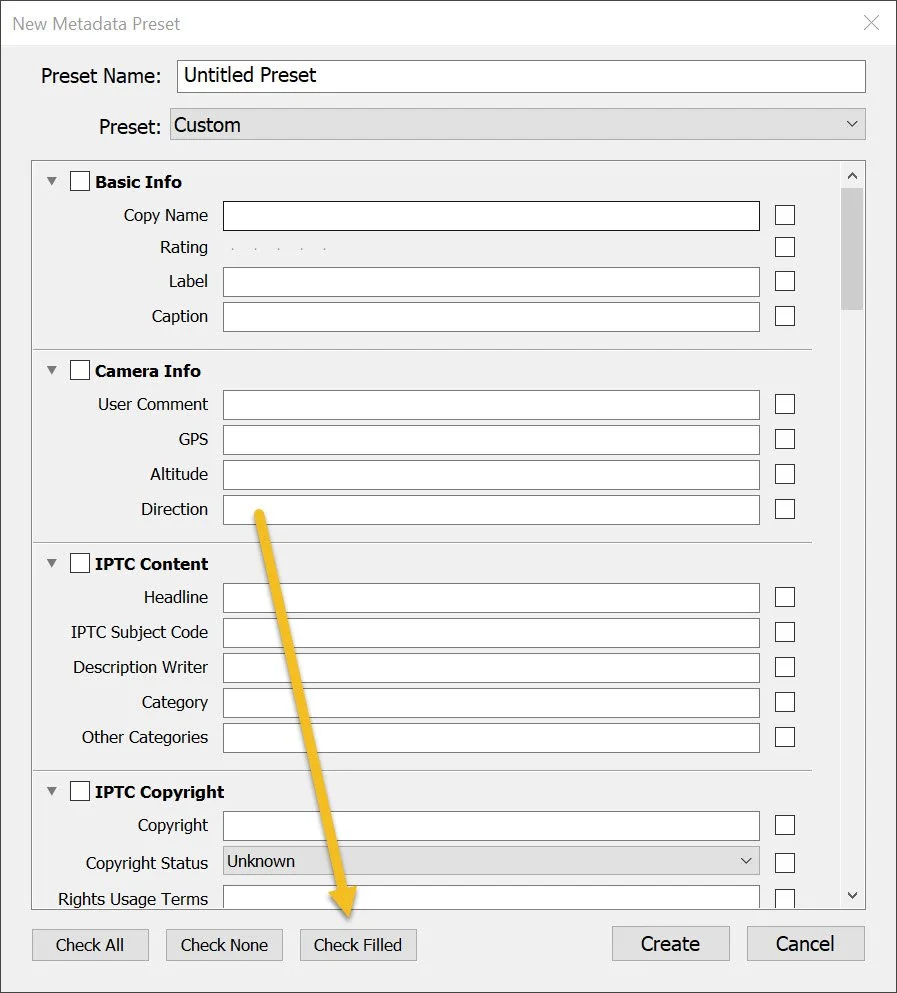
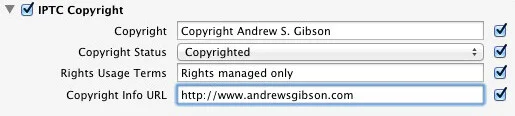
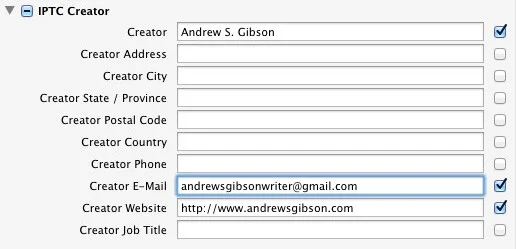
Setting up a metadata preset during import can also be beneficial. Open the Metadata menu during the import phase, choose New, and complete the necessary fields in the New Metadata Preset window. This is crucial for protecting your work and ensuring proper credit.
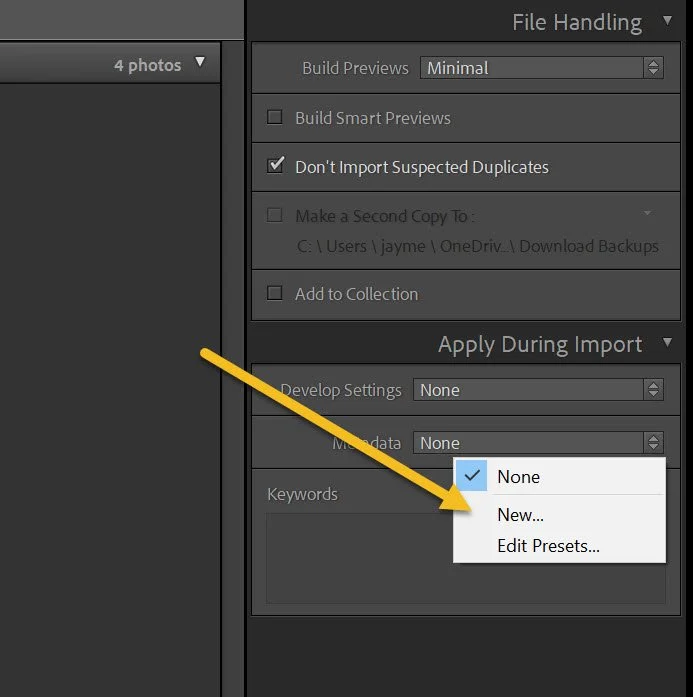
Now that you've set up your presets and metadata, you will streamline your workflow and improve your image processing efficiency. With consistent protection of your work, you’re ready to take on your next photography project with confidence.
So go ahead and create your own presets in Lightroom. The savings in time and hassles during the editing process can be invaluable!