Mastering Lightroom: Essential Keyboard Shortcuts to Optimize Your Workflow
| Shelf | Photo Techniques |
|---|---|
| Date in | |
| Readers | 754 |
Enhance your Lightroom efficiency with these five crucial keyboard shortcuts designed to streamline your editing process and improve workflow productivity.

In the realm of photo editing, Lightroom stands out as a favorite among photographers for its speed and efficiency. Yet, relying solely on mouse navigation can turn minor adjustments into significant time sinks. To streamline your photo processing, let’s explore five indispensable keyboard shortcuts that promised to enhance your workflow and help you edit images more effectively.

1. Display All Shortcuts
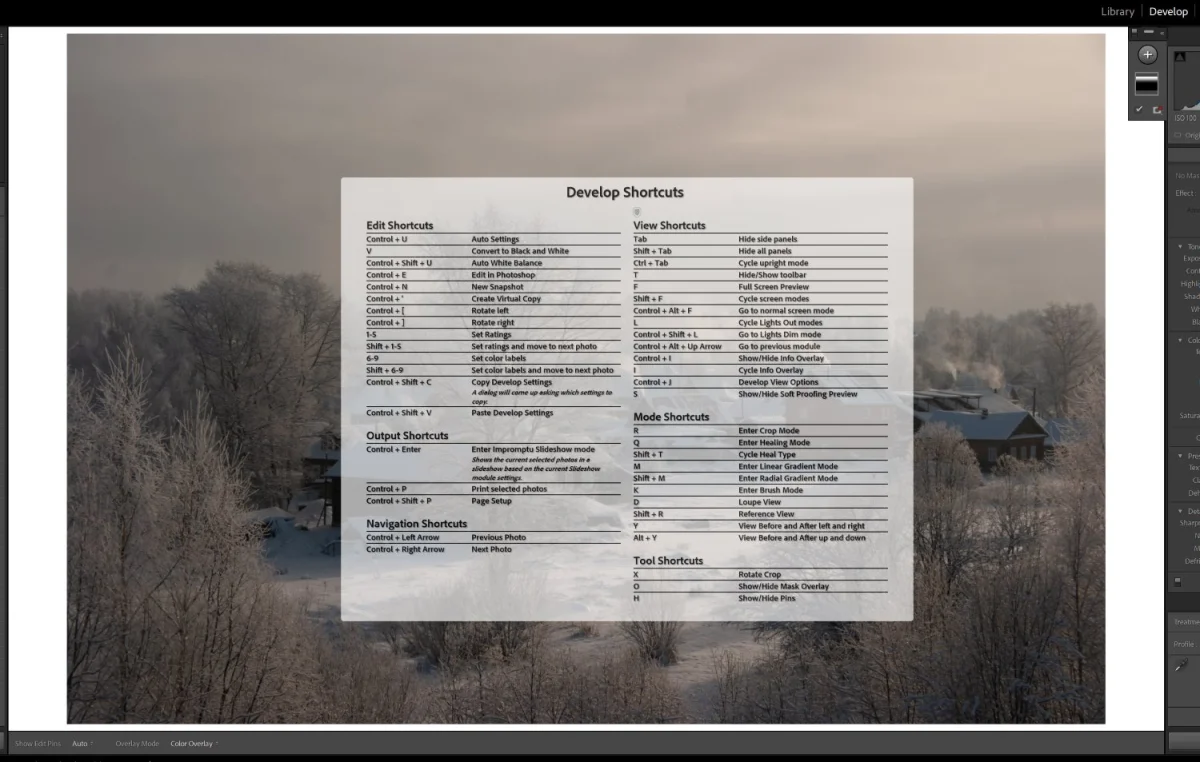
Knowing the multitude of available shortcuts in Lightroom can truly transform your editing experience. To reveal a complete list of shortcuts tailored to the current module you’re working in, you can press Ctrl/Cmd + /. For example, if you’re in the Library module, this shortcut will display all relevant shortcuts specific to that environment, making it easier to recall and utilize various commands.
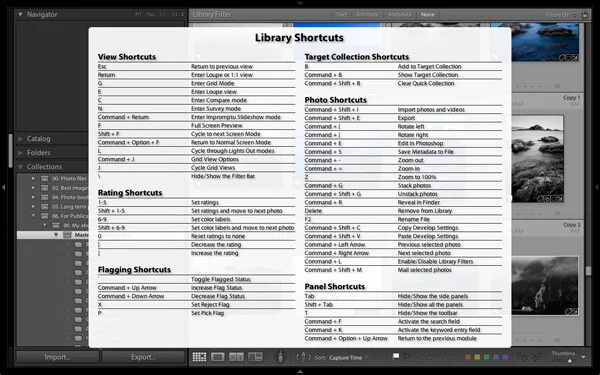
It’s a good idea to familiarize yourself with these shortcuts after checking out the list; they may hold the key to improving your workflow dramatically. When you're finished, simply click anywhere on the list to dismiss it.
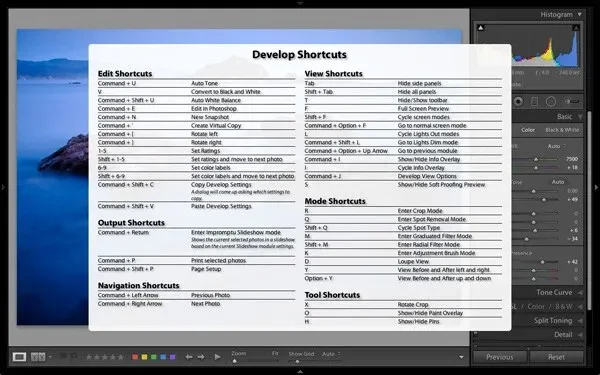
2. Quick Cropping with “R”
One of the most used functions in any image editing software is cropping, and Lightroom provides an efficient way to access this feature through a simple keyboard shortcut. By pressing R while in the Develop module, you'll bring up the crop overlay immediately. This allows for quick adjustments and can save you considerable clicking and dragging time.
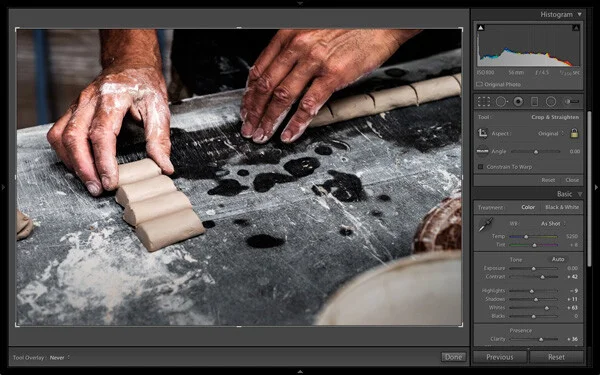
If you decide that the orientation of the crop overlay doesn’t suit your image, pressing X toggles the crop’s perspective. This is particularly useful when switching between landscape and portrait images, as Lightroom automatically adapts the crop overlay to fit the image's current orientation, optimizing your editing process.
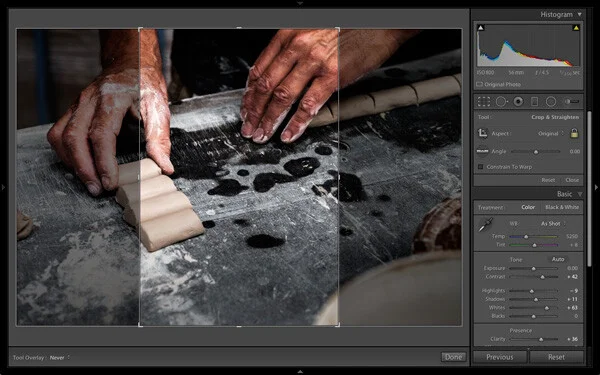
3. Resample Image Areas with “/”
Lightroom's Healing tool is a powerful feature for removing unwanted elements from your images. To activate it, press Q to access the healing modes; however, if you're not satisfied with the initial content sampling, the / key can be a game-changer. By pressing this shortcut after selecting a healing area, Lightroom will choose a different sampling region to help refine your edits.

For instance, if you’re trying to eliminate an unsightly blemish, a quick application of / can provide a more natural-looking result. Don’t hesitate to use your cursor manually to select sample areas, but know this can take longer than utilizing the shortcut for efficiency.

4. Setting White and Black Points Using Shift
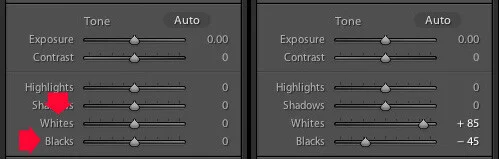
Properly adjusting the white and black points leads to images that pop with contrast. While it can be tedious to adjust these settings with sliders, there's a quick fix. Double-clicking the Whites and Blacks sliders resets them to zero; however, if you hold the Shift key while doing so, Lightroom will calculate optimal adjustments, stretching the histogram to encompass the entire spectrum of tones.

This method not only enhances your photos with minimal effort, but it also sets a strong foundation for further edits. It’s an efficient way to start with a strong base before fine-tuning other aspects of your image.
5. Inverting Linear Gradients with the Apostrophe Key
The ability to apply localized adjustments using tools like the Brush and the Graduated filter is one of Lightroom’s standout features. For further fine-tuning, the Linear Gradient tool facilitates natural adjustments across specific areas of your image.
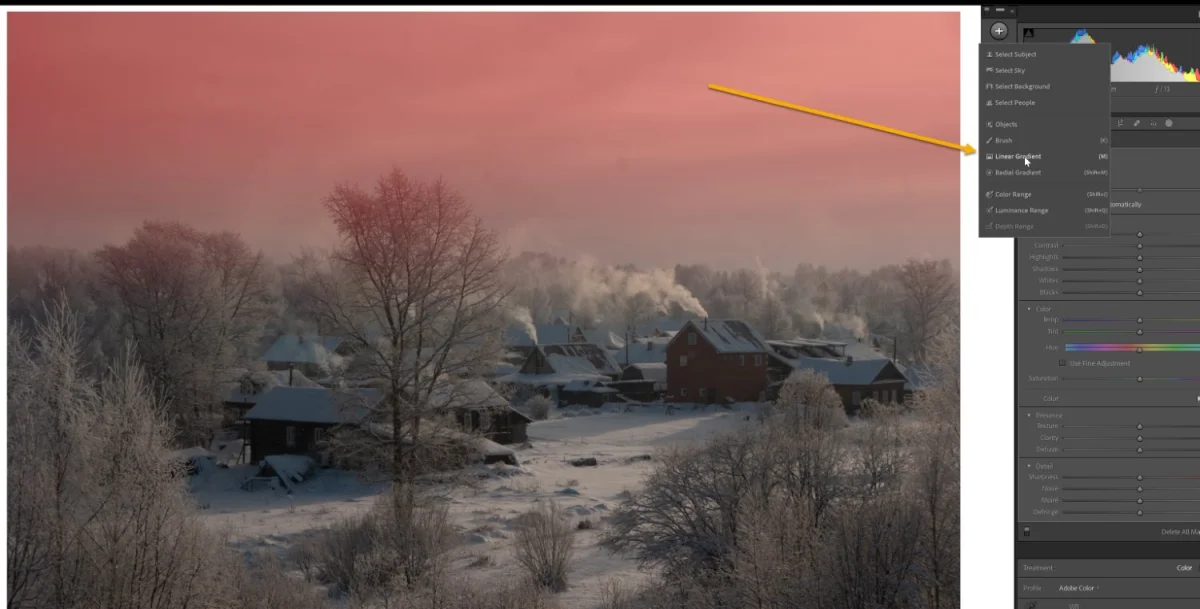
To create a gradient, tap Shift + W and apply it to an area you're interested in adjusting, like the sky. If you want to invert this effect, press the apostrophe key (‘). This way, you can easily create gradients that work effectively in different sections of your image.
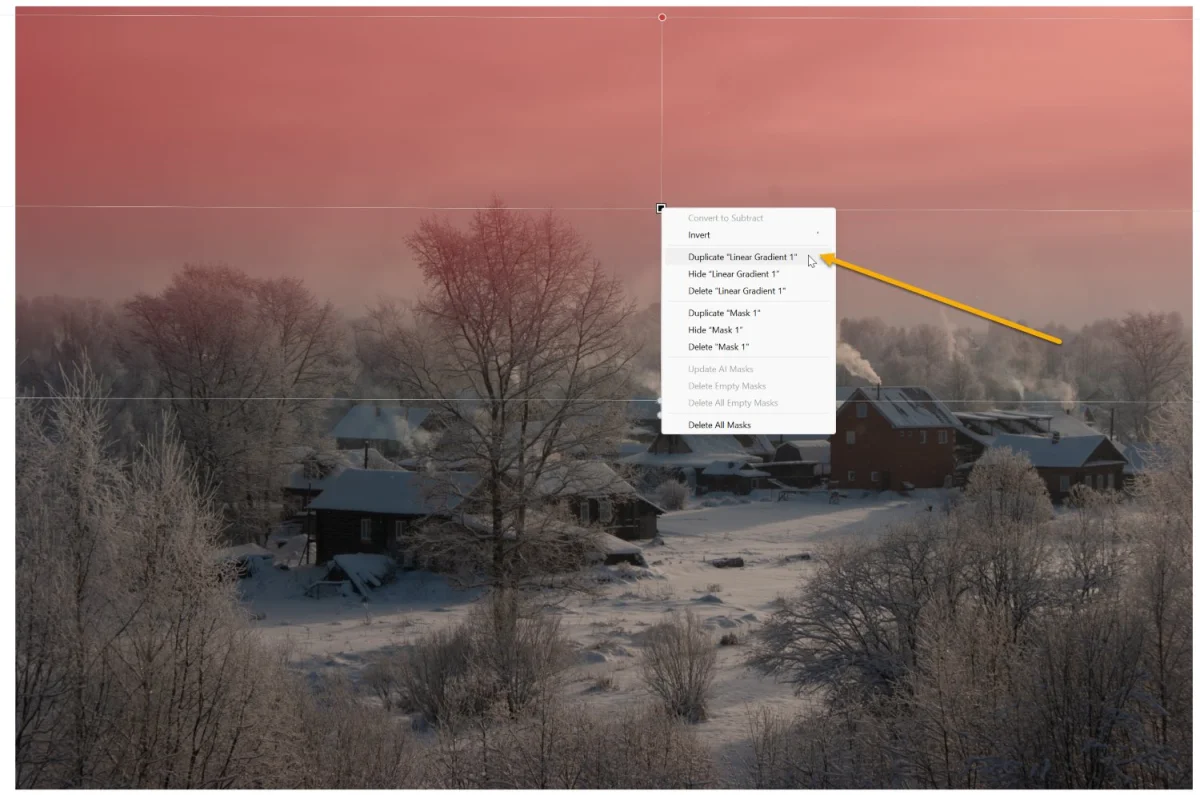
- Start with a gradient across the sky and lower the Exposure slider to darken it.
- Duplicate the gradient and press the apostrophe key to flip it, allowing you to affect the foreground.
- After duplicating, reset the Exposure on the second gradient before enhancing the foreground’s texture.
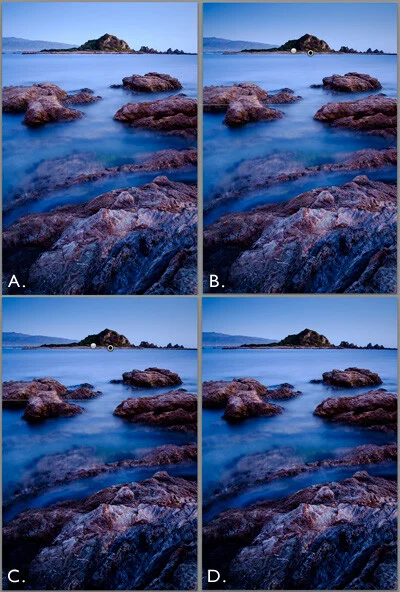
The result? A visually engaging image enriched by thoughtful adjustments across both sky and foreground elements.
Final Thoughts on Optimizing Your Workflow
With these shortcuts at your disposal, you’re now better equipped to navigate Lightroom efficiently and improve your photo editing workflow significantly. Taking the time to integrate these tips into your routine can transform how you manage your images.
So, why wait? Dive into your Lightroom projects and start applying these shortcuts. Share your favorite shortcuts or any others you've found beneficial in the comments below, and elevate your editing game!